The V-Strom has one or two spare, switched circuits (with an amperage rating of 10 amps or so). On a bike that'll eventually have driving lights, USB power, 12v power, GPS, perhaps heated grips and/or seat, that extra circuit or two won't go far - you'll end up making a choice: "Do I want warm hands, or do I want my GPS?" I don't believe in a world of 'or' - I'm always living life in a world of 'and' (it drives my wife crazy sometimes). So I quickly recognized a separate series of circuits would be necessary in order for me to stack on new features. And thus my project was born.
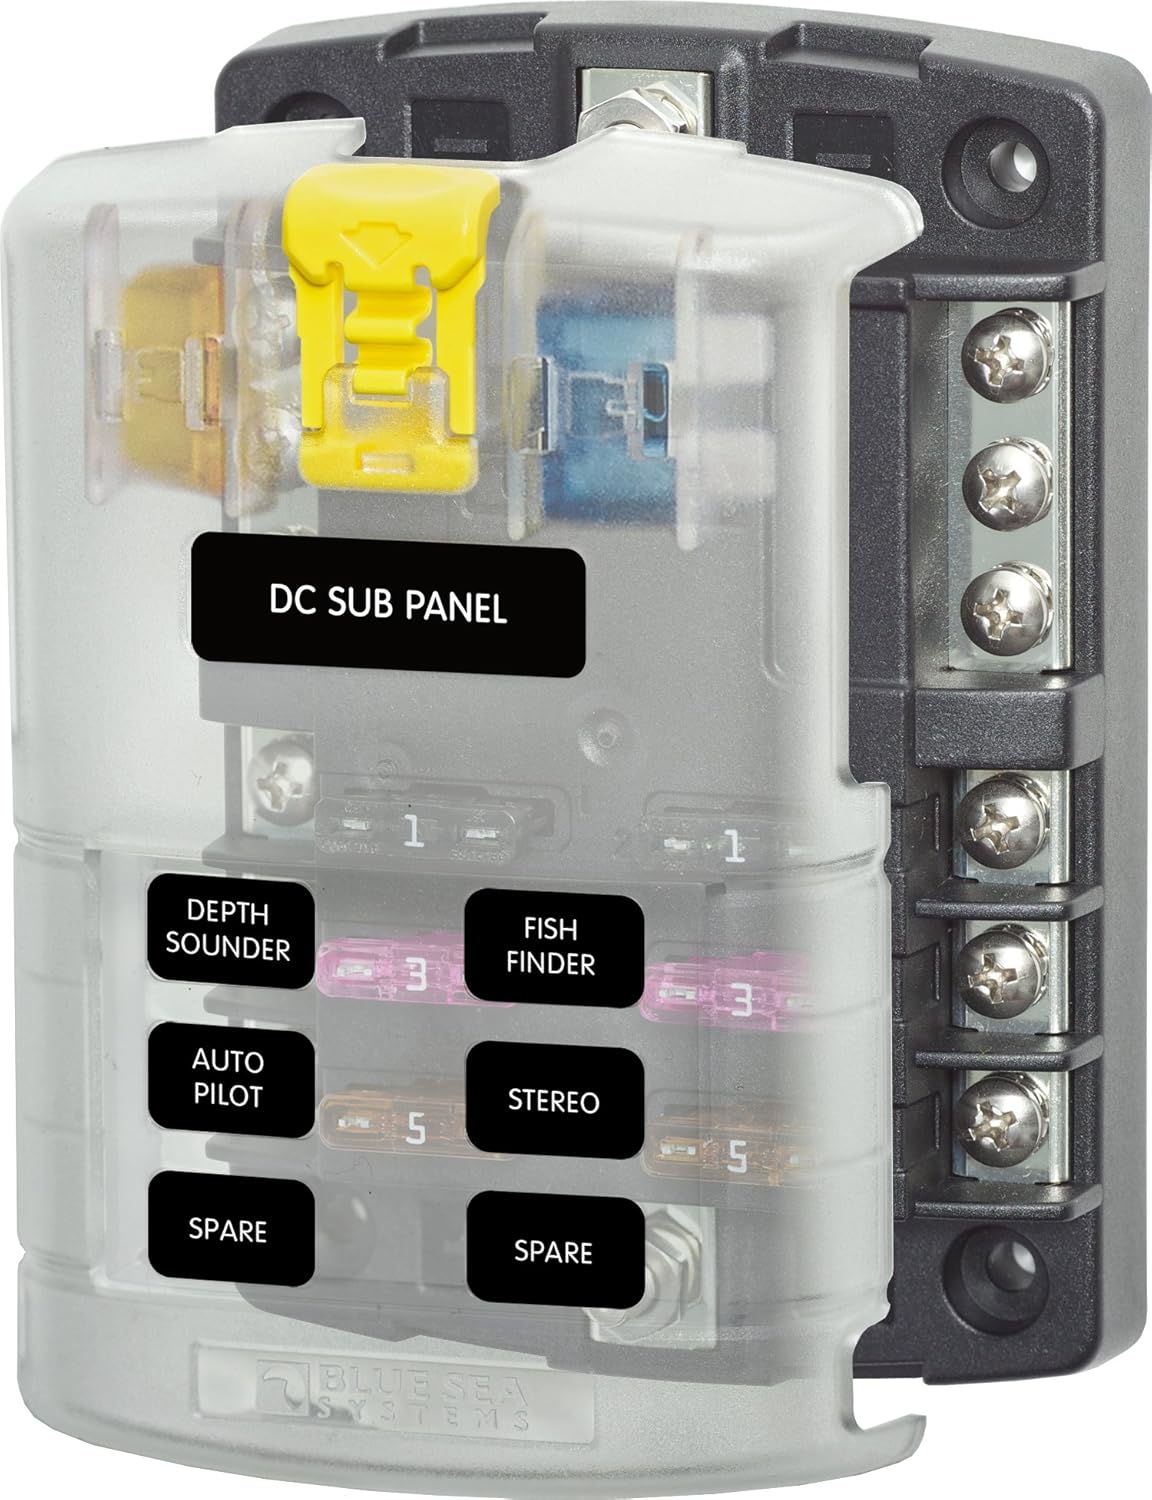
I started out by buying a marine-grade fuse block. My first was a 12-circuit block, which I quickly realized was going to be too big (I had originally planned on installing the block near the battery under the seat). So I downsized to the six circuit fuse block:
I bought this back in February, and it's sat unused taking up room in my drawer ever since.
Next, I knew the fuse block had to be direct-connected to the battery. It couldn't pull power for everything it'd support from any existing circuits. But I also knew I didn't want to risk parasitic (or accidental) power drains and a dead battery, so I knew it had to be 'switched' with the motorcycle's ignition. Therefore, my next requirement was clear: I needed a relay connected to the ignition, which would close the circuit from the block to the battery.
A Little Bad Weather Can Be a Good Thing
In late September, my wife had a trip scheduled with some friends. I planned to take my own trip, riding the Strom down to Canyonlands, then returning to Salt Lake via Colorado and Dinosaur National Monument. As the trip date neared, the weather forecast worsened. While my destination basked in 80-degree sunshine, the route there was experiencing Utah's version of biblical floods (ie, 2" of rain in a 24-hour period). I chose not to go (and I was grumpy!). As Saturday passed, the weather cleared and I hopped on the bike to visit my friend and "elmer" (amateur radio speak for 'mentor'). Chuck and I tackled the install, and I'm tickled pink with the results.
The Install
Fuse Block Location
Our first task was to find a location for the fuse block. I ultimately chose to put it where the factory tool bag is stored. It's accessible, but well-secured:

Relay Setup
After choosing the location for the fuse block, our next task was picking a circuit to power the relay with. It could honestly be any circuit, but we noticed in the fuse box that there is a "spare" circuit which is actually wired and functional (as opposed to just being an empty space in the fuse box):

We pulled the fuse box out, removed the fuse box for the starter motor so we had some room to work, and simply tee-ed off the "spare" wire and ran that to the relay. We ran a wire from the relay to ground, flipped the ignition, and heard that beautiful sound of the relay closing. Successful step 1!
Putting it Together
Finally, we needed to get the actual power from the battery to the fuse block. We connected a second ground and ran it straight to the fuse block's ground pole. We then ran power from the battery to the relay and from the relay to the fuse block's power pole. It looks a bit confusing, but again - it works.

Here's a shot of the fuse block (no fuses installed and nothing connected - but it powers up great):

And again - the final installation:

No comments:
Post a Comment